
Volume-Reactive Particle Effect (Naku|BOOTH)
✨ What You Can Do with This Tool
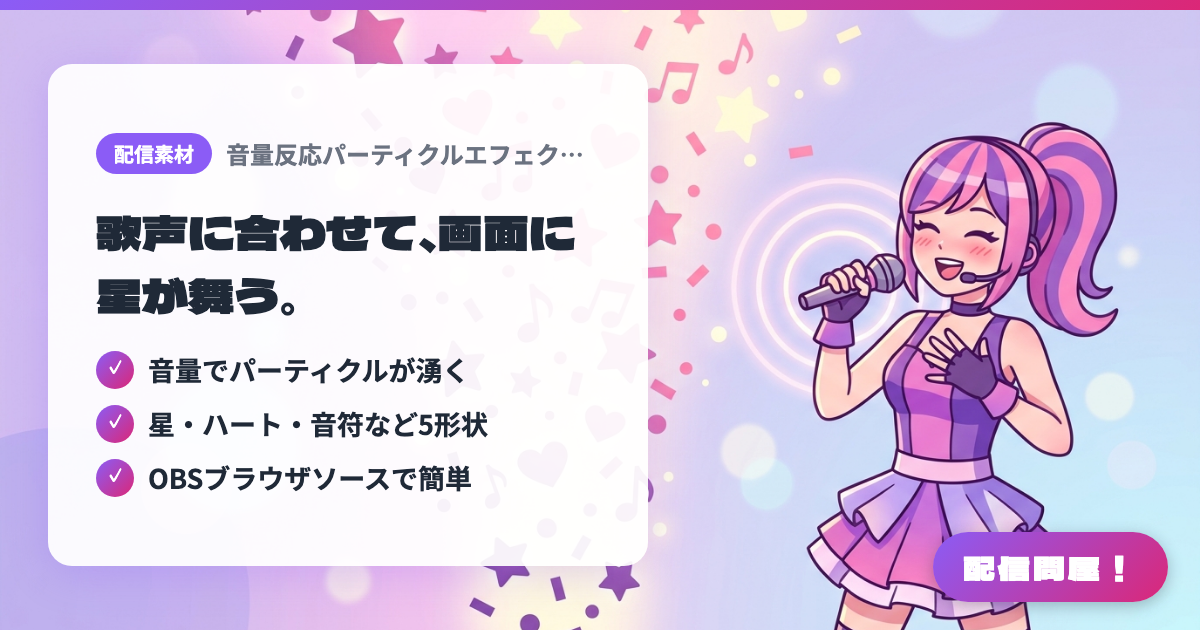
- ✓ 音量でパーティクルが湧く
- ✓ 星・ハート・音符など5形状
- ✓ OBSブラウザソースで簡単
🖼️ Screenshots
📖 What is Volume-Reactive Particle Effect (Naku|BOOTH)?
A widget you load as an OBS Browser Source that makes particles rise from the bottom of the screen in response to the volume of your microphone, Discord call, or game audio. The louder your voice, the more particles appear. Five shapes (circle / star / heart / music note / confetti), three textures (glow / glass / solid) and the color scheme can all be changed in the built-in settings panel. Includes automatic microphone calibration. Sold on BOOTH for 500 yen. Requires OBS Studio v28 or later (Windows/macOS), OBS WebSocket connection settings, and an internet connection. Can be used by individuals and companies, including on monetized streams.
💡 When to Use It
Great for karaoke streams, where notes and stars float up from the bottom of the screen in time with your singing to show the build-up of the chorus. In chatting streams, hearts and confetti can burst out with your laughter and reactions to add motion to a screen that is just your character art. It also works for game streams, reacting to the game audio in intense moments to boost the sense of presence.
📋 Basic Info
| Price | Paid |
| Supported OS | Windows / Mac(OBS Studio v28以降) |
| Developer | Naku |
| Last Updated | Oct 2026 |
🚀 How to Use
- Step 1: Unzip the file you bought on BOOTH, then in OBS click "+" under "Sources" and add "Browser" (you can also drag and drop index.html onto the OBS window)
- Step 2: Check "Local file" and select index.html, set the width and height to match your stream resolution (e.g. 1920×1080), and check both "Shutdown source when not visible" and "Refresh browser when scene becomes active"
- Step 3: In OBS, go to "Tools" → "WebSocket Server Settings" to confirm the port and password, then open the source's "Interact" window, click "⚙️ Open Settings", and enter them in the "Connection" tab (first time only)
- Step 4: In the settings panel, choose the audio source to react to (microphone / Discord call / game audio), then use "Auto-adjust microphone" and follow the silence-then-speak guide to set the sensitivity and noise cut
- Step 5: Adjust the shape, texture and color to match your brand colors (settings are saved automatically)
🎉 Highlights & Comments
What do you love about this tool?
✏️ Leave a comment (optional, up to 200 characters)
0/200